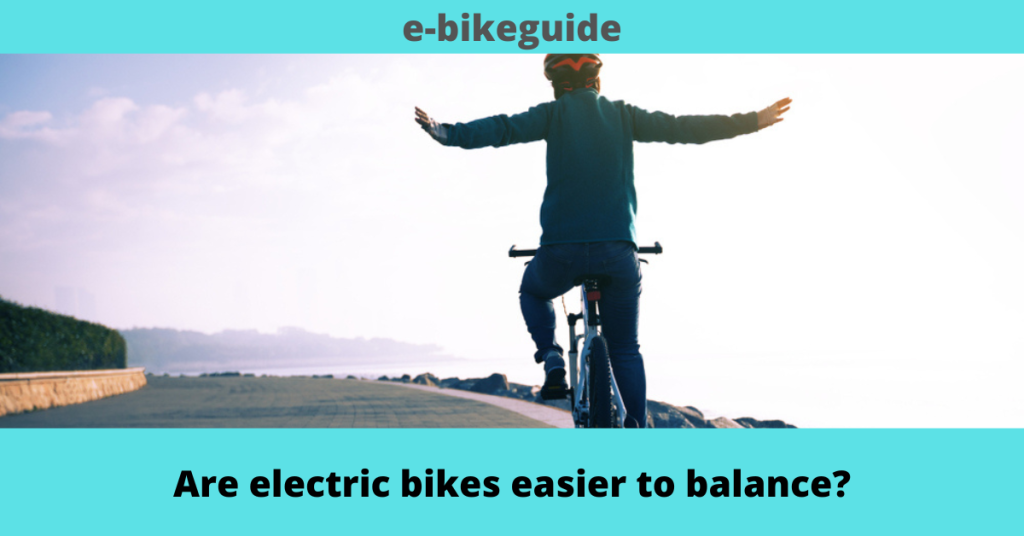
How to balance your ebike properly?

E-bikes are becoming popular due to several reasons. The most common fact is the energy serving feature. There are other important considerations when selecting your riding option as an E-bike. Though the E-bike is new to the vehicle list, it is relatively convenient and easy to
handle. We will discuss whether it is easy to balance the e-bike throughout
this article.
We suggest you be more knowledgeable about the features of the e-bike to handle and balance the bike easily. Especially on hand breaks, rare brakes and left control of the right break are the most important features to take the e-bike under your control.
How to be sure that the e-bike has a good balance.

The most fundamental concern of anyone who purchases an e-bike s how to ride a bicycle with good balance.
Though the E-bike is new to the vehicle list, it is relatively convenient and easy to handle.
The first thing the rider should be aware of is to keep reminding on the helmet. Before you familiarize yourself with the E-bike, safety should be a priority. Once you are physically fit with other elements, check the features of the e-bike to ensure a safe ride.
Balancing is a skill that a cyclist develops through practice. Therefore, more practice will lead to proper and balanced riding. Then, there will not be any doubt about riding with confidence. We suggest you check the design and inquire about the balance of the bike at the point of purchase. Moreover, we will discuss step by step process of how to balance a bike.
Another important point to remember, the balancing objective is stronger than a static object. Having this phenomenon in mind, the rider can try to make the e-bike balance while riding. If you leave the bike without movement and additional support, the e-bike will fall.
Further, an e-bike is generally more balanced with the ability of the rider and the support provided by the throttle. Support of the throttle increases the balancing ability of the e-bike.
Instructions to a new rider to balance the e-bike.

We will guide you on how to balance an e-bike step by step.
Step 01: Find a suitable surface/ location
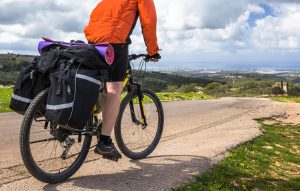
First and foremost, find a location where you can concentrate on practicing. However, there are some facts to be considered before selecting a place. It should be a flat terrain with rare obstacles. This will ensure a smooth ride. And also you can focus on balancing the e-bike. If there are no slopes and slopes, it will be easier. We suggest a park where are permitted to ride bicycles.
Step 02: Be ready and make your e-bike ready

Once you understand the riding modes, the rider needs to be fit in mind and body. The rider can begin with some balancing warm-up exercises. We suggest you undertake warm-up exercises in less than a minute.
The important activity is to practice balancing on each foot individually. Start with the left side and shift to the right. Feel free to hold onto the bike. Then do the opposite side to get a sense of the bike. Keep doing this several times to ensure you are fit to start practicing.
Then, the rider should be aware of is to keep reminding on the helmet and wear knee and elbow protection. Before you familiarize yourself with the E-bike, safety should be a priority.
Subsequently, make sure the features of the e-bike are to ensure a safe ride. Check the battery level, brake system, and gear. If you do not check the battery level before riding, you will not be able to practice for a certain period. Then, check brake and gear systems to ensure safety and
speed. Before leaving the place, adjust the seat and feet. Make sure that these elements will support you with a comfortable ride. We propose you reduce the height of the seat, so then you can easily touch the ground on your foot in case you lose your balance.
Step 03: Stand up and walk the e-bike

The best start can make by just walking while controlling the e-bike. You will be able to adopt the movements of the e-bike. You will be familiarized with the size of the bike and you will be able to handle it while it is on movement. We suggest you follow this step for 5-10 minutes. Do not forget to spine left and right.
Step 4: Sit and walk with the e-bike

As the next step, you can try riding the e-bike by sitting on it. Sit on the bike look forward and push the bike from one fee to the ground. It is important to make sure that you are not looking at the ground but instead forward at eight sights while riding, it will reduce the balance of the bike. We suggest you practice this step for at least 20 minutes to get used to the e-bike and the floor.
Step 5: Push the e-bike forward with two feets

Once you are familiar with the bike, push forward the e-bike with both feet and raise the foot gradually from time to time.
Make sure that you grab the brakes and climb the saddle. Once you feel comfortable keeping your feet on the surface, practice with seating posture and continue. One foot only needs to be elevated at a time. As a result, when you keep off the brakes, it appears to be pushing off and gliding. It will be better at utilizing more force and gliding for a little bit longer as you go.
Make 2 seconds rest and ride for the next 2 seconds. Be mindful to keep the handlebar straight and keep trying to push. Further, you need to ensure that you do not use the break to stand instead keep your foot on the ground during this step.
When you slip with both feet up once you may have gotten a feel for gliding with one foot. Therefore, in this instance, then take two alternate steps before lifting both feet. Continue pushing and gliding, which is a simple way to remember it. It can take three or four pushes before you
build up enough energy and confidence to elevate both feet. Another thing that might be helpful is if there is a tiny descent; this will give you a bit more momentum and enable you to elevate your feet higher for a longer period.
Once you start, then keep floating, and nearly always keep one foot planted.
We suggest you carry out this step for half an hour.
Step 6: Use the throttle.
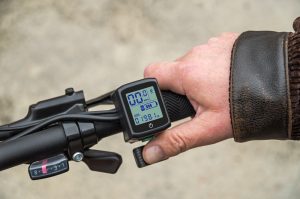
The next step is starting with the support of electrical components. Start the mortar while you are riding. Subsequently, start using the throttle once the motor is turned on. This will significantly support you to maintain the balance. You will feel that riding an e-bike is more confident and simpler than riding a traditional bike. Because it supports to use of the throttle to immediately move. When you are keeping this momentum, maintaining balance will be easy and simple. We suggest you keep practicing a couple of push-pull moves. After gliding for a little while with both legs, you can be ready to start the bike. Therefore, we advise disabling the motor until you are confident with manual riding with the e-bike.
If you have followed the above instructions, you are at the stage where you can lift your feet for a long time gradually. There is only concentration has to be put on balancing the e-bike. If you are capable enough to lift your foot off the ground for a long time, you can move to the last step
of practicing balance.
Gently press the throttle while looking forward. You can use one foot on the pedal and look forward gently while keep pressing the throttle.
You do not need to cycle. You can technically ride your bike if you can open the throttle.
We suggest you repeat this step for half an hour. Once you complete this step, you will be confident to move the e-bike forward with an average balance. Then, you can get ready to
move the e-bike to the next step by turning right and left.
You can keep riding at your preferred speed. If you want to slow down, use the rear hand brake. Then, turning right or turning left. At this stage, you may feel competent to increase the speed. Slow down again with the right-hand break. Finally, go ahead while paddling and slow down from time to time once you are confident using the throttle.
Step 07: Turn Motor on, familiar with gentle use of Throttle, break, and PAS
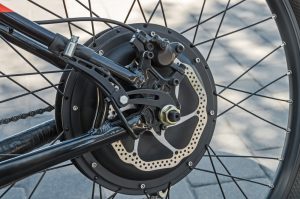
At this last step, you can keep one foot on the paddle, look forward and press the throttle. Once the e-bike starts to move, keep the other foot on the pedal and begin to pedal.
When you are trying to break, use both break systems in right and left. First right with your right side break and then left. Do this very smoothly.
Final Step: Keep confidence and continue practicing

Power is not an important aspect of keeping the balance. Therefore, the motor is not at all being used when riding an e-bike. Therefore, it’s a good approach to practice gliding with both feet up. Therefore, keep paddling while using pushing gently.
I will be the push-and-go technique. Once you are familiar with paddling with the exception that the rider does not want to utilize the push, push technique and will instead only use the throttle. Now slowly open the throttle. It is up to you to decide on the level of exerting to keep the pressure going forward.
When you feel the push, you may simply elevate your feet. you don’t have to lift them very high; just an inch or two will do. You can leave your foot on the ground and keep the bike balance. I suggest you keep your feet almost completely flat on the ground. Ride straight roads while keeping your hands on the brakes. If you continue the engagement with a paddle. We suggest you keep rolling and practice balancing. When you feel more stable. Try to practice on both left and right sides.
Then you need to get a feel for it back and forth a few times.
Will the design of the e-bike affect balancing?

Unless there is an issue with the practice, the rider will be able to keep the e-bike balancing. However, the design of the e-bike is also required to keep balancing up to a certain level. I have listed a few
designs of the e-bike which need a different mechanism to keep balancing.
1- Forward pedaling design.
This type of design moves the pedal forward rather than the e-bike seat. You can reduce and keep the height of the seat minimized and pedal normally. Then, the pedal will be shifted forward and will assist to bend the knee smoothly
2- Step through design.
Step-through design e-bikes ensure the easiness of uphill and support the rider to touch the ground on foot with less effort. This design increases the confidence of the rider to balance the e-bike well.
3- Forward pedaling & Step through design.
This design provides a mixture of paddling forward and step-through design. There is no argument that this e-bike will ensure good balancing while reducing the height of the e-bike unable to touch the ground on and off. The only drawback of this bike is, it is difficult to use on riding uphill.
4- Electric Tricycle.
Though it is not a complete feature of an e-bike, it is the best suit for you to keep balancing while riding. Because it comes with three wheels and no balancing is required.
Conclusion.

You may ride it manually and leave everything off. That’s how you can get moving with the new thing.
The rider can start riding once he feels ok with the surface, physically and mentally fit to handle the bike. More and more practice will make it easy on balancing. If you follow our instructions step by step you will be more familiar to undergo the balancing comfortably.
Make sure some safety items are properly ware such as a helmet and wearing knee and elbow protections since safety should be a priority.
Subsequently, make sure the features of the e-bike are to ensure a safe ride. Check the battery level, brake system, and gear. If you do not check the battery level before riding, you will not be able to practice for a certain period. Then, check brake and gear systems to ensure safety
The design is a critical factor to learn to balance. The rider has such a good sense of balance on either side. We recommend the rider lower the seat. Then it will be a conventional bike right now. If the seat is low, the rider can lay feet flat on the ground when seated. Due to the
Throttle’s ability to move the bike effortlessly, electric bikes are simpler to balance. Due to the throttle’s ability to move the e-bike effortlessly, electric bikes are simpler to balance.
4 designs help you get more balance on an electric bike such as forward paddling, step-through design, forward paddling, design, and electric tricycle.
