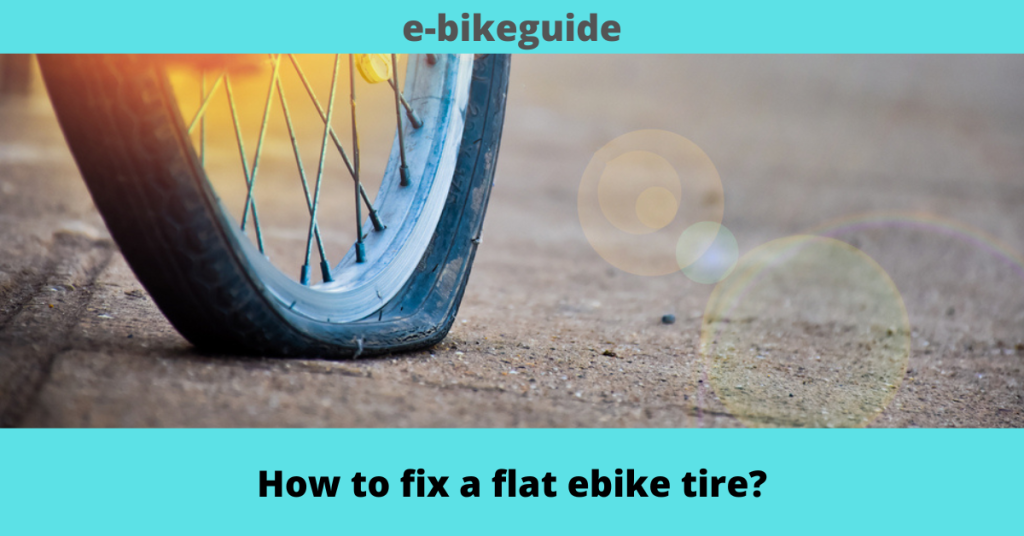
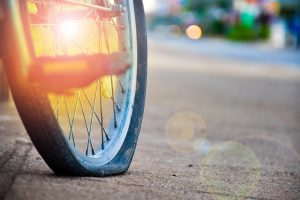
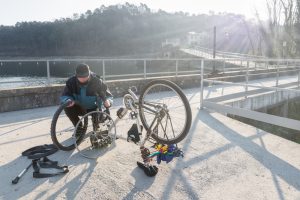
Imagine you’re out for a long heavenly ride on your ebike. The weather is nice, the roads are just perfect, and everything seems to be all okay, but suddenly your tire becomes deflated. The struggle is real. This is not an imagination. This can happen in real life, too, so it’s better to learn the quick ways to fix a deflated tire.
Because a deflated tire means the end of a trip. How can you ride on a bike that has a flat tire? You can’t! Either you fix it or end the ride. So there are a few steps to consider to fix your flat ebike tire. These are very simple. And after using these steps, you will be able to ride your bike as if nothing happened. So the ebike manufacturing companies have given some instructions that you need to carry out step by step in order to fix the tire and get the ebike back on the road. So before starting the fixing process, you might need some instruments. They are,
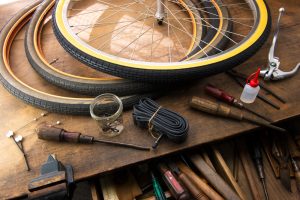
- 1. A replacement tube
- 2. Tire levers
- 3. A way to inflate the tube
- 4. A wrench (possibly)
So you might not carry these instruments, so you can either go to a store or garage to get these. But these are a must to fix your ebike flat tire.
First step: identify the size of your tire and tube
When fixing a flat tired first thing you should do is to identify the tire clearly and buy a tube that is the right n size. As a living being, the tires also come in different shapes and sizes, so they have so many strengths. And also there might be weaknesses as well; while performing, you can get an idea about these qualities. So what matters is what is inside so in here, what matters is the tube. So before everything, you should identify the diameter and the width of the tire from the outside. This takes only a few minutes. And by this, you will be able to realize what is the best type or shape of the tube you need to fix the flat ebike tire.
So typically tires have “26 x 3.0” or “700 x 32.” on the outside of the tire. So this will be the tube size you want. On every tire, the size is stated on the packaging or on the tube itself. And also, the packaging says whether it has a Presta or Schrader valve on the new tube you’re buying. And also you might need them too, so take a look at the tire and consider it as well.
The Presta valves
Are very skinny and tall in length. Usually are on road bikes as well as new mountain bikes. You should unscrew these valves before you let the air out or in and comes out with a locking nut.
The Schrader valves
Are thicker in size and shorter than Presta valves. And they are very similar to valves you find on cars. So these valves are more common on so many bikes than Presta valves in the e-bike world.
So the first step is to purchase the replacement tubes that are appropriate to operate in size. after this, you can move on to step two.
Step Two: Remove the wheel
after identifying the tire size, you should remove the wheel to
replace the tube with a new one. When you remove the wheel, you might understand that there are different designs of the axle that connects the wheel and the frame. So some of the axle designs are a quick-release axle, a bolt-on axle, thru-axle. So your wheel might have one of these. All these axel types are very convenient to handle. You don’t need to be an expert to work with these . so even without the help of a mechanic, you can do this at home. It is simply that. Typically quick release and thru axles are more accessible to operators than bolt-on axles.
When using quick-release axels, you just have to lose the connection of that is between the frame axle and the fork by undoing the lever. When you turn it on, it becomes loosely with the level or the Allen wrench that is inside the axle. Then you can pull out the axle to let the wheel fall. So when the wheel separates from the wheel, you can go for the other step.
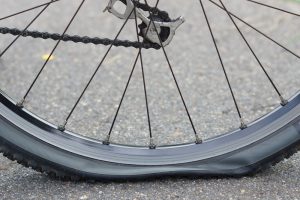
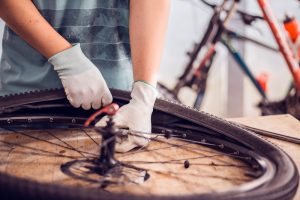
Step Three: Remove the tire and tube
After removing the tire from the wheel, you don’t have much to worry about because the steps after that are not complex. Suppose your trusty tire levers come in handy. Then it is all fine. So for this, you have to set the wheel in a high way so you can push the tire lever up. You should do this until your tire bead is longer in the rim. Then you should keep repeating this process from the wheel’s other side, and it will be even easier to remove the tire from the rim. So for starters, like people having their first e-bike, it can be a little difficult as they’re not much familiar with the tire’s levers, rims, and beads. So they can always use the internet and watch the videos to fully understand the process before doing this;
In this instance, your tube will be attached to the rim still because the valve drops through the valve hole that is in the rim, So if you have a valve cap, unscrew it and press it to back up through the hole till it disconnects the tube from the wheel completely. Even this can be a hard step for the new bike users, and sometimes all of this can be confusing, and even you might not even know the names of the parts. You can always have the internet as the backup and get some sense about the parts and process.
Step Four: Checking the inside of the tire to find if there’s any thorns
you must know that for your old tube to pop out; there should be a reason. So you know that it is important that you must check inside the tire. So that you can make sure there aren’t any nails poking the inside of it. This is a must because you won’t need to fix your ebike for the second time. if there’s something inside without you knowing so your bike tire can poop out again. You must do this carefully. Slowly move your hand inside the tires and check if there may be any debris or something like that. Remove it. You should let those poke and hurt yourself.
Another way to determine where the puncture is if your tire is inflating the old tube. Doing this will make it easier to find out, and you can see if something is puncturing the tube. And also, you can find out if our tube is split or picked inflated. So it is a must to know what happened with your old tube. Only then you can have a good understanding of the tires and prevent the same thing from happening to your new tube.
Puncture: Sharp objects like terrains or debris can pierce through the wheel and screw the tube, which releases the air pressure outside
pinch Flat: the tube doesn’t have enough air inside, so the tube pinches between the rim and the tire when someone is riding.
Seam Split: there can be problems when manufacturing as the tube seam might not stitch or glue together correctly. So when you ride, a blowout can happen by adding air inside the tube.
Blow Out: This is loud, so anyone can find out when a blowout happens.
Step Five: Putting the tire back on the wheel
After you check the inside of the tire to know if there are any thorns or sharp items. if there isn’t you can put the tire back on the wheel. So before that, you need to consider if it’s in the right direction. Because if it’s in the wrong direction, which is backward, it will start to roll more slowly ever than before. Putting the tire back on and wheeling it up when you’re on a workbench is much easier. So we recommend using it as you can work very efficiently without getting much in your way. You can fit the tire by holding it upright and dropping the rim to the bottom of the tire.
So when you finish inserting the rim, you can press the bead to the inside of the rim. So we can say that this is very similar opposition to step three. If you find to find it hard to press the tire inside all the way to the wheel, you can use a tire lever. If you find this process s confusing, you can watch the videos on YouTube. Or else you can get used of a mechanic or someone familiar with e-bikes. So normally, you will want to get the tire mounted on one side only because you will have to out the tube inside. After this, you can head off to the next step.
Step Six: Putting the tube inside the tire
So if you finish doing all the steps above means, you’re very close to getting your ebike on the road again. So this is what you should do next. You should take the tube from the box and inflate it till it gets into a tubular shape. don’t do it so much. Otherwise, it’ll be hard to touch. Then you can put the tube inside the tire you took out from the rim. When doing step 5, press your valve downwards through to the rim valve hole. When you finish inserting the tube inside in a correct manner, you can put the other side of the tire into the rim too.
Afterward, you can push out more of the tire to inside the rim without levers. but we recommend that you do this by using your hands so that you won’t cause any harm to the tube. Because the lever can pinch, the tube and blowout can happen. Every when you’re using your hands, you must be very careful not to pinch the tube that is between the rim and the tire.
When you look at both sides of the tire, which is on the rim, remember to check the sides to ensure the fixing is properly carried out or not. And check out if the tube is sticking out from the tire or not. So if you finish checking out everything, you can go on to the next step, which is final.
Step Seven: PSI, Inflating the tire, and putting the wheel back on
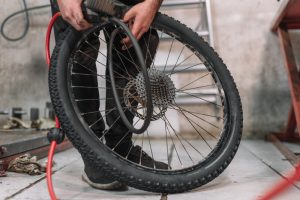
if you make it so far, then you should be proud of yourself. because it may appear easy, but it’s not. So if you end with all the steps above you should know that you have to repair the flats. So normally, you might have to look at the psi range in your tire. It will show how much air pressure your tire can handle. The tire pressures vary because of a couple of reasons, and here are they,
the weight of the rider
These are the main variables that affect tire pressure because it changes from person to person. So as an example, if you’re a heavy rider, you should buy a tire that can handle heavy pressure. By doing this, you will prevent the pinch flats that happen to your ebike tire.
When you apply more pressure to the tire, the tire will be working under stress, so it’s possible that your bike can have a flat tire.
Ex; a 29psi won’t be able to perform the same task to a 200lg rider just as it’s doing for a 100lbs rider; the performance changes according to the weight.
Preference of terrain
another variable that affects your bike’s tire pressure is the terrain you get. If you prefer a strict on-road ride, you have to get a tire with a higher pressure because normal pressure won’t be able to handle the maximum speeds. so that it will have a puncture. And also, if you like driving on a dirt road, you have to inflate the tires to a pressure that can mold the dirty surfaces when you’re driving through at a maximum speed. So you should remember that if you lower the pressure, your bike won’t have any pinch flats.
Past Flats
If you’re an experienced rider, you might have some idea about the past flats that you have faced. So you know the places you have punctures, and you might have an idea about the variables that affect flat tires. this can vary the pressure too. And you’ll be highly likely to get another pinch flat.
So finally, if you have inflated the tire to the correct pressure, it is all done and dusted. now you can get your bike back to the road again. But after everything, you should check if your axles are tight and your wheel is working smoothly before taking a ride. So if everything is fine, you can have the best ride of your life.